Your DIY Facial with Mary Allan
Take your beauty routine to the next level with Mary’s step-by-step guide to a spa-worthy facial, overall at-home wellness, and the secret recipe to her glowing skin smoothie!
Since we won’t be spending our Friday evenings at a restaurant or bar any time soon, the BWB team is using this extra time to perfect our at-home skincare skills. We needed a little extra help, so we brought in Mary Allan! Mary is the founder of one of our favorite brands, Mary Allan Skincare. In fact, this is not Allan’s first rendezvous at BWB! You can also find some of her best tips for bringing the spa to your bathroom here. Like her products, Mary’s approaches skincare through natural ingredients with healing properties that work gently to revitalize the skin each day. Read below to discover her step-by-step guide to a spa-worthy facial, as well as the secret recipe to her glowing skin smoothie!

How can we take advantage of this daily break from makeup?
Without makeup and sunscreen, our skin gets a chance to breath without film-forming ingredients like dimethicone and plastics that are often found in these types of products. This is also the ideal time to address any issues you may have, like clogged pores, dehydration and acne breakouts.
How do we make the most of these weeks without the constant aggressions from a dry office and a polluted commute?
Without polluted commutes, air travel and office environments, our skin has the greatest opportunity to reset its natural microbiome that can be imbalanced from over-washing. This constant aggression on our skin can also lead to dryness. Using gentle cleansing products that are pH-balanced and avoiding acids that can alter your pH and microbiome is one of the simplest way to get your skin back in balance.
With extra time on our hands, what would be the ideal daily routine to maintain healthy and nourished skin?
I think it is really important to focus on our overall sense of well-being. The mind and body are connected, and glowing skin is a combination of many lifestyle factors, such as good nutrition, regular sleep, exercise and our ability to take time to destress. Our skin will naturally benefit from additional focus on self-care and a simplified daily skin care routine such as cleansing and hydration. Incorporating a weekly self-care facial is also a great way to nurture ourselves and our skin.
What products and tools can we still easily buy these days to create our own expert facial treatments?
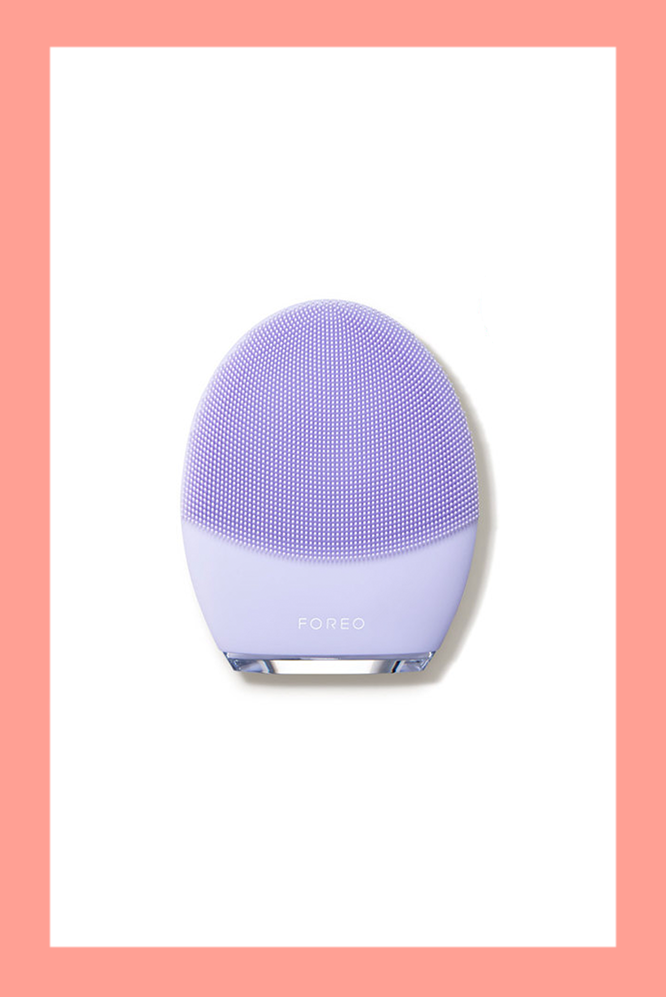
1. I love using the Foreo LUNA 3 for Sensitive Skin. This tool gives your skin that “spa glow” by helping to lift away dull keratinized skin cells. I like the one for sensitive skin best, as it agrees with all skin types.
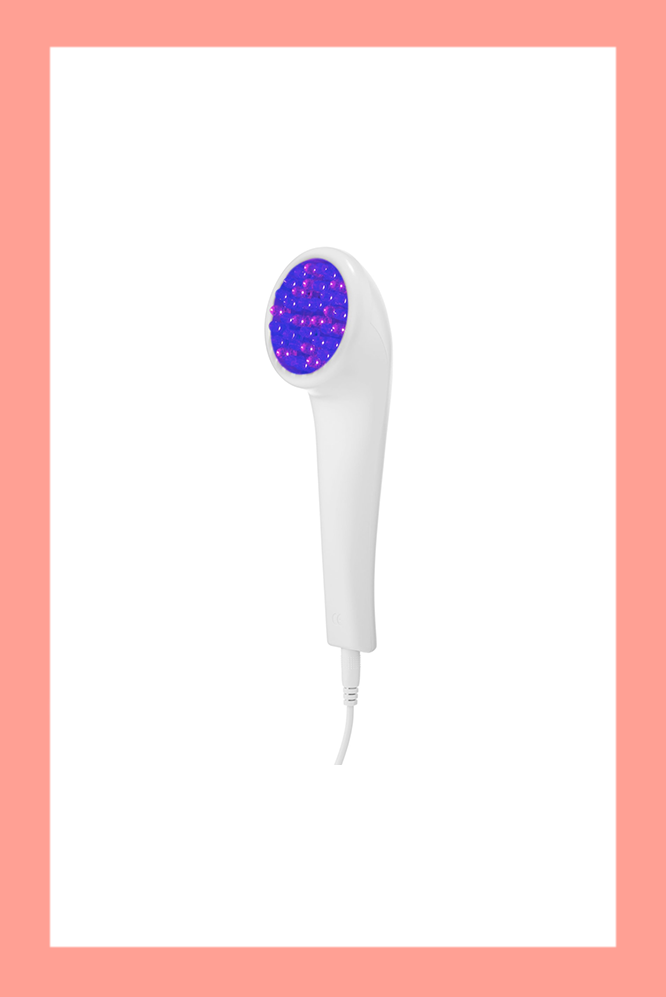
2. If you are experiencing acne breakouts, especially under additional stress, then I really like the Lightstim® for Acne. This is an FDA-cleared device that combines LED light with blue and red wavelengths to treat and reduce mild acne breakouts.
3. A simple and inexpensive way to stimulate circulation and relax facial muscles is with a jade or rose quartz roller and gua sha. I keep my roller in the fridge and use it in the morning when my eyes are a little tired and puffy. I keep my gua sha on my nightstand and use it before bed to relax my jaw, shoulders and neck. In addition, we can still get that “just left the spa” facial glow with a few simple steps!
DIY Expert Facial
Step 1: Double Cleanse
Start your facial with the double cleanse method. First, wash your face with a cleansing oil to remove oil and debris. Follow with a gentle, water-soluble gel or lotion cleanser.
If you do not have a cleansing oil, you can use pure grapeseed oil or jojoba oil. Just make sure to throughly rinse it off!
Step 2: Exfoliate
Exfoliating the skin helps to unblock pores, dissolve dry skin patches, and allows for better absorption of the active ingredients from your treatment serums. Exfoliation is also the key to brightening your complexion and improving the skin’s texture.
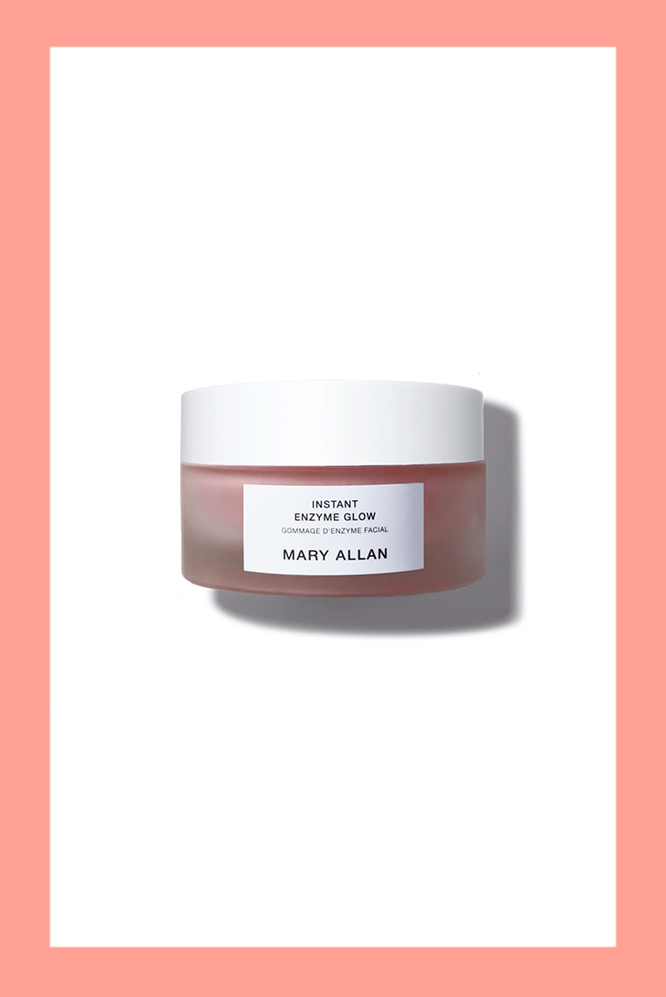
Make sure this step is done with a physical soft scrub and not an acid-based liquid, as you are looking for immediate smoothness and brightening. I love using my Instant Enzyme Glow, which is a pH-neutral, oil-based exfoliant that polishes the skin while breaking down debris and oils to unclog the pores.
Step 3: Steam
This is one of the most important steps of a home facial. It allows the pores to open gently for deep cleansing and extractions if needed. You can create your own facial steamer by bringing water to a boil in a large pot. Once it has stopped boiling, carefully pour some of the water into a large bowl. Next, take a towel and drape it over your head with an opening on one side. Slowly lean your face over the bowl. Steam for 5 to 7 minutes with breaks in between. The steam should feel warm and not hot! Fresh herbs like rosemary help create a refreshing aroma.
*If you have sensitive skin or rosacea you should skip this step.
Step 4: Extractions (only if needed)
I don’t usually suggest doing your own extractions at home. However, given the circumstances you may need to do a few on your T-zone area (forehead, nose, chin).
To do the extraction: Wrap a tissue around each index finger and carefully place one finger on each side of the milia or blackhead pushing down gently with a slight squeeze. The blackheads should come out easily. If not, then wait until you can get professional extractions.
Step 5: Treatment Mask
Apply your favorite mask and leave it on for 10-15 minutes, depending on the instructions. Place cucumber slices on the eyes if you have them.
One of my favorite DIY masks is honey and cacao. To Make: Blend one tablespoon of your favorite honey with 1/4 teaspoon of raw cacao and 1/2 teaspoon of your favorite cold-pressed oil (such as argan oil). Mix together and leave on your skin for 10 to 15 minutes. Rinse with warm water. Oilier skin types may want to add 1 teaspoon of fine milled French Kaolin Clay.
I like to take this opportunity to relax with music while laying down on my back! I also spend a few minutes doing deep breathing exercises.
Step 6: Add Your Actives
Once you have rinsed off your facial mask with warm water, pat your skin dry and apply your favorite serum.
Step 7: Moisturize & Facial Massage
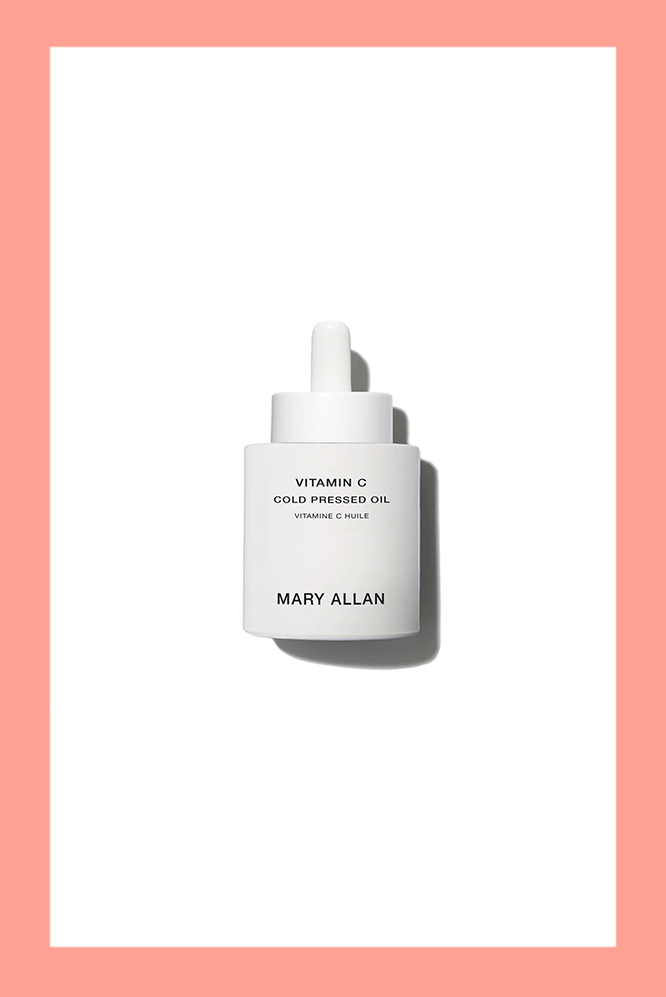
A simple lymphatic facial massage is a great way to tone and lift the appearance of the skin and relieve tension. I like to apply a lightweight moisturizer and or a few drops of my Vitamin C Cold Pressed Oil while incorporating my rose quartz roller at this stage.
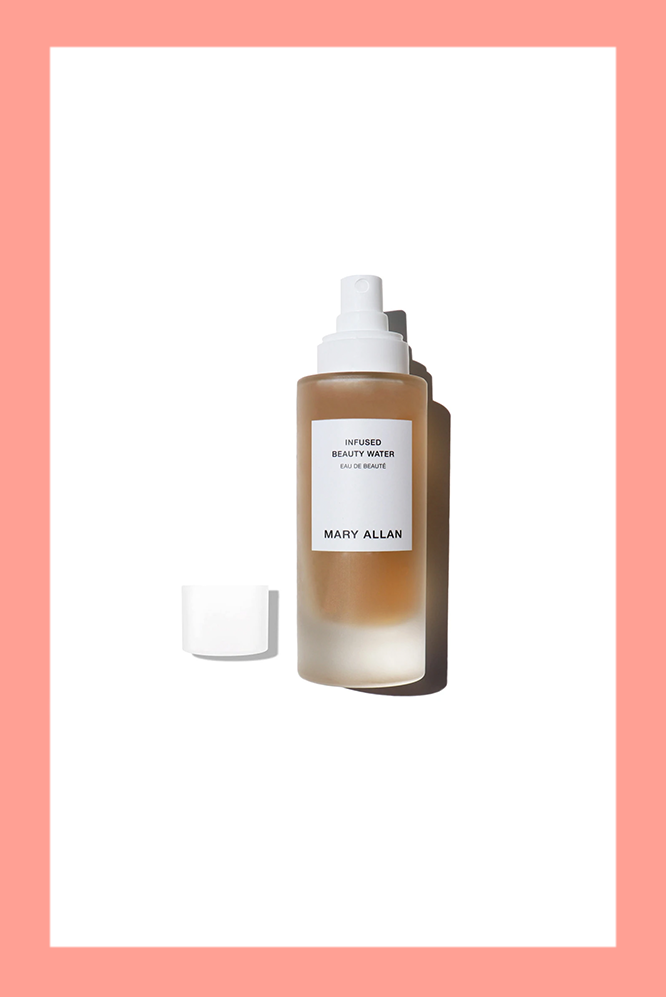
Finish with a spritz of your favorite mist. I love using my Infused Beauty Water Essence, which is loaded with hyaluronic acid and uplifting notes of neroli flower and ylang ylang that help me feel a sense of well-being.
What are your top five survival tips for quarantine skincare?
For me, it’s really about a holistic approach to overall wellness. I believe this helps to keep the mind and body in balance and our skin healthy and radiant. Often times, we forget that our skin is a reflection of our combined lifestyle habits.
My top five survival steps are:
1. Sleep
The most crucial step, particularly during times of high stress, is to make sure you are getting quality sleep each night. Our skin better restores itself naturally when we get quality sleep.
I love little luxuries for sleep like my silky eye pillow and high-quality cotton sheets.
2. Fuel Your Body And Skin
I like to start my day with a nourishing green smoothie. This way, I know I’m getting the most important nutrients into my body at the beginning of each day and my skin will thank me for it. I have made this smoothie recipe for the past decade with a few modifications over the years.
Glowing Skin Smoothie:
- 2 cups organic no sugar almond milk
- 1 scoop protein powder (I like Garden of Life’s)
- 2 tablespoons organic super greens powder of your choice
- 1/4 cup wild blueberries
- 1/2 organic banana
- 1/4 cup organic coconut water or filtered water
- 6 large handfuls of spinach or kale
- 1/2 teaspoon of MCT oil (optional)
- 1/4 teaspoon of turmeric powder (optional)
- 1/4 avocado or 1 tablespoon of almond butter (optional)
3. Hydrate
Hydration is key to glowing skin and allows the body to eliminate toxins more effectively. Every morning, I make a pitcher of filtered water with lemon and lime slices and leave it in my fridge to drink throughout the day. You can mix it up and add other fruits, such as watermelon, orange slices or raspberries.
4. Move Your Body
I do some form of exercise for at least an hour each day. Depending on my energy level, I will go for a run, walk, or use my peloton bike. I follow this with 20 minutes of relaxing yoga that includes stretching and breathing exercises.
5. Create A Nightly Wind-Down Routine
Give yourself time to wind-down at the end of each day for a more restful sleep. My regular wind-down routine includes:
- I avoid caffeine after 1 p.m. and minimize any kind of sugar besides from berries in my morning smoothie.
- My last meal is eaten no later then 7 p.m. to ensure my body is able to transition into the elimination cycle during sleep.
- I create ambient evening lighting in my house usually around 8 p.m.
- I incorporate a simple facial massage with some element of aromatherapy. This is especially important since we are spending more time indoors. You can still connect with nature by adding a few drops of your favorite plant extract, such as rosa damascene or lavender for relaxation.
- After my facial massage, I listen to a guided sleep meditation for 20 minutes that helps me calm my mind for a more restful sleep.
I also like to deep breathing exercises, my favorite is 4-7-8 by Dr. Weil. It works by helping you to calm your mind, similar to meditation.

Originally from Los Angeles, Alicia lived in Shanghai for 11 years before moving back to the states to attend the University of Miami, where she graduated with a bachelor’s degree in public relations and minors in art and philosophy. Currently residing in New York City, Alicia applies her knowledge of strategic communication and design in her career. She enjoys painting, rugby, exploring, and more often than not, you’ll find her petting someone’s dog.


